Note: This post is a part of GrillGirl's Big Green Egg Series, a deep dive into the popular Kamado style grill and how to take advantage of all that it offers. This post in the series show you how to light a fire in your Big Green Egg. Follow along on this adventure if you have ever been curious about getting an Egg or want to better understand how to get the most out of your Egg. And if you are looking for Big Green Egg Recipes, you have come to the right place because we have over 100 recipes developed just for the Big Green Egg!
So, you have your Big Green Egg on the patio and ready to go. Now what? Well, let’s talk about loading it up and making it run. Whether you're brand-new to outdoor cooking or a seasoned veteran, I highly recommend you take a little time to learn how to manage your fire and temperature without cooking something. So essentially, I want to show you how to light a fire in the Big Green Egg and control it just to practice for the first time, no food involved.
I realize that sounds a bit crazy, but it allows 100% of your focus to be on temperature management. I promise the time you spend here is a good investment. It took me a few hours to get comfortable with the running the Draft Door and the Dual Function Top Vent to get the temperature I wanted. Honestly, I did two dry runs. The second was under less-than-ideal conditions just to get a feel of how the Egg is affected by unfavorable weather.

Fill it Up!
Remove the Ceramic Damper and replace it with your Dual Function Metal Top. Fill the firebox with some good lump charcoal, no briquettes here, please. Lump burns clean and quick with little ash. Fill the firebox up to where it meets or just below the fire ring.

Step 1 to light a fire in the Big Green Egg is to add lump charcoal.
Light it Up!
There are lots of ways to light the Big Green Egg. One of them is NOT lighter fluid. I’m by no means an anti-lighter fluid person, but it just does not have a place in your Egg. I love the BGE Speedlight Natural Charcoal Starters from Big Green Egg. I have started using these in all my cookers and charcoal chimneys. Place a starter in the center of your lump pile and fire it up.

Jon loves BGE Speedlight Natural Charcoal Starters.
Know your Dome!
Leave the Egg Dome (lid) open and fully open the lower Draft Door. Install your cooking grate. In 5-10 minutes, you will have a nice fire going in the egg.
Go ahead and close the dome. Open the Dual Function Top all the way.


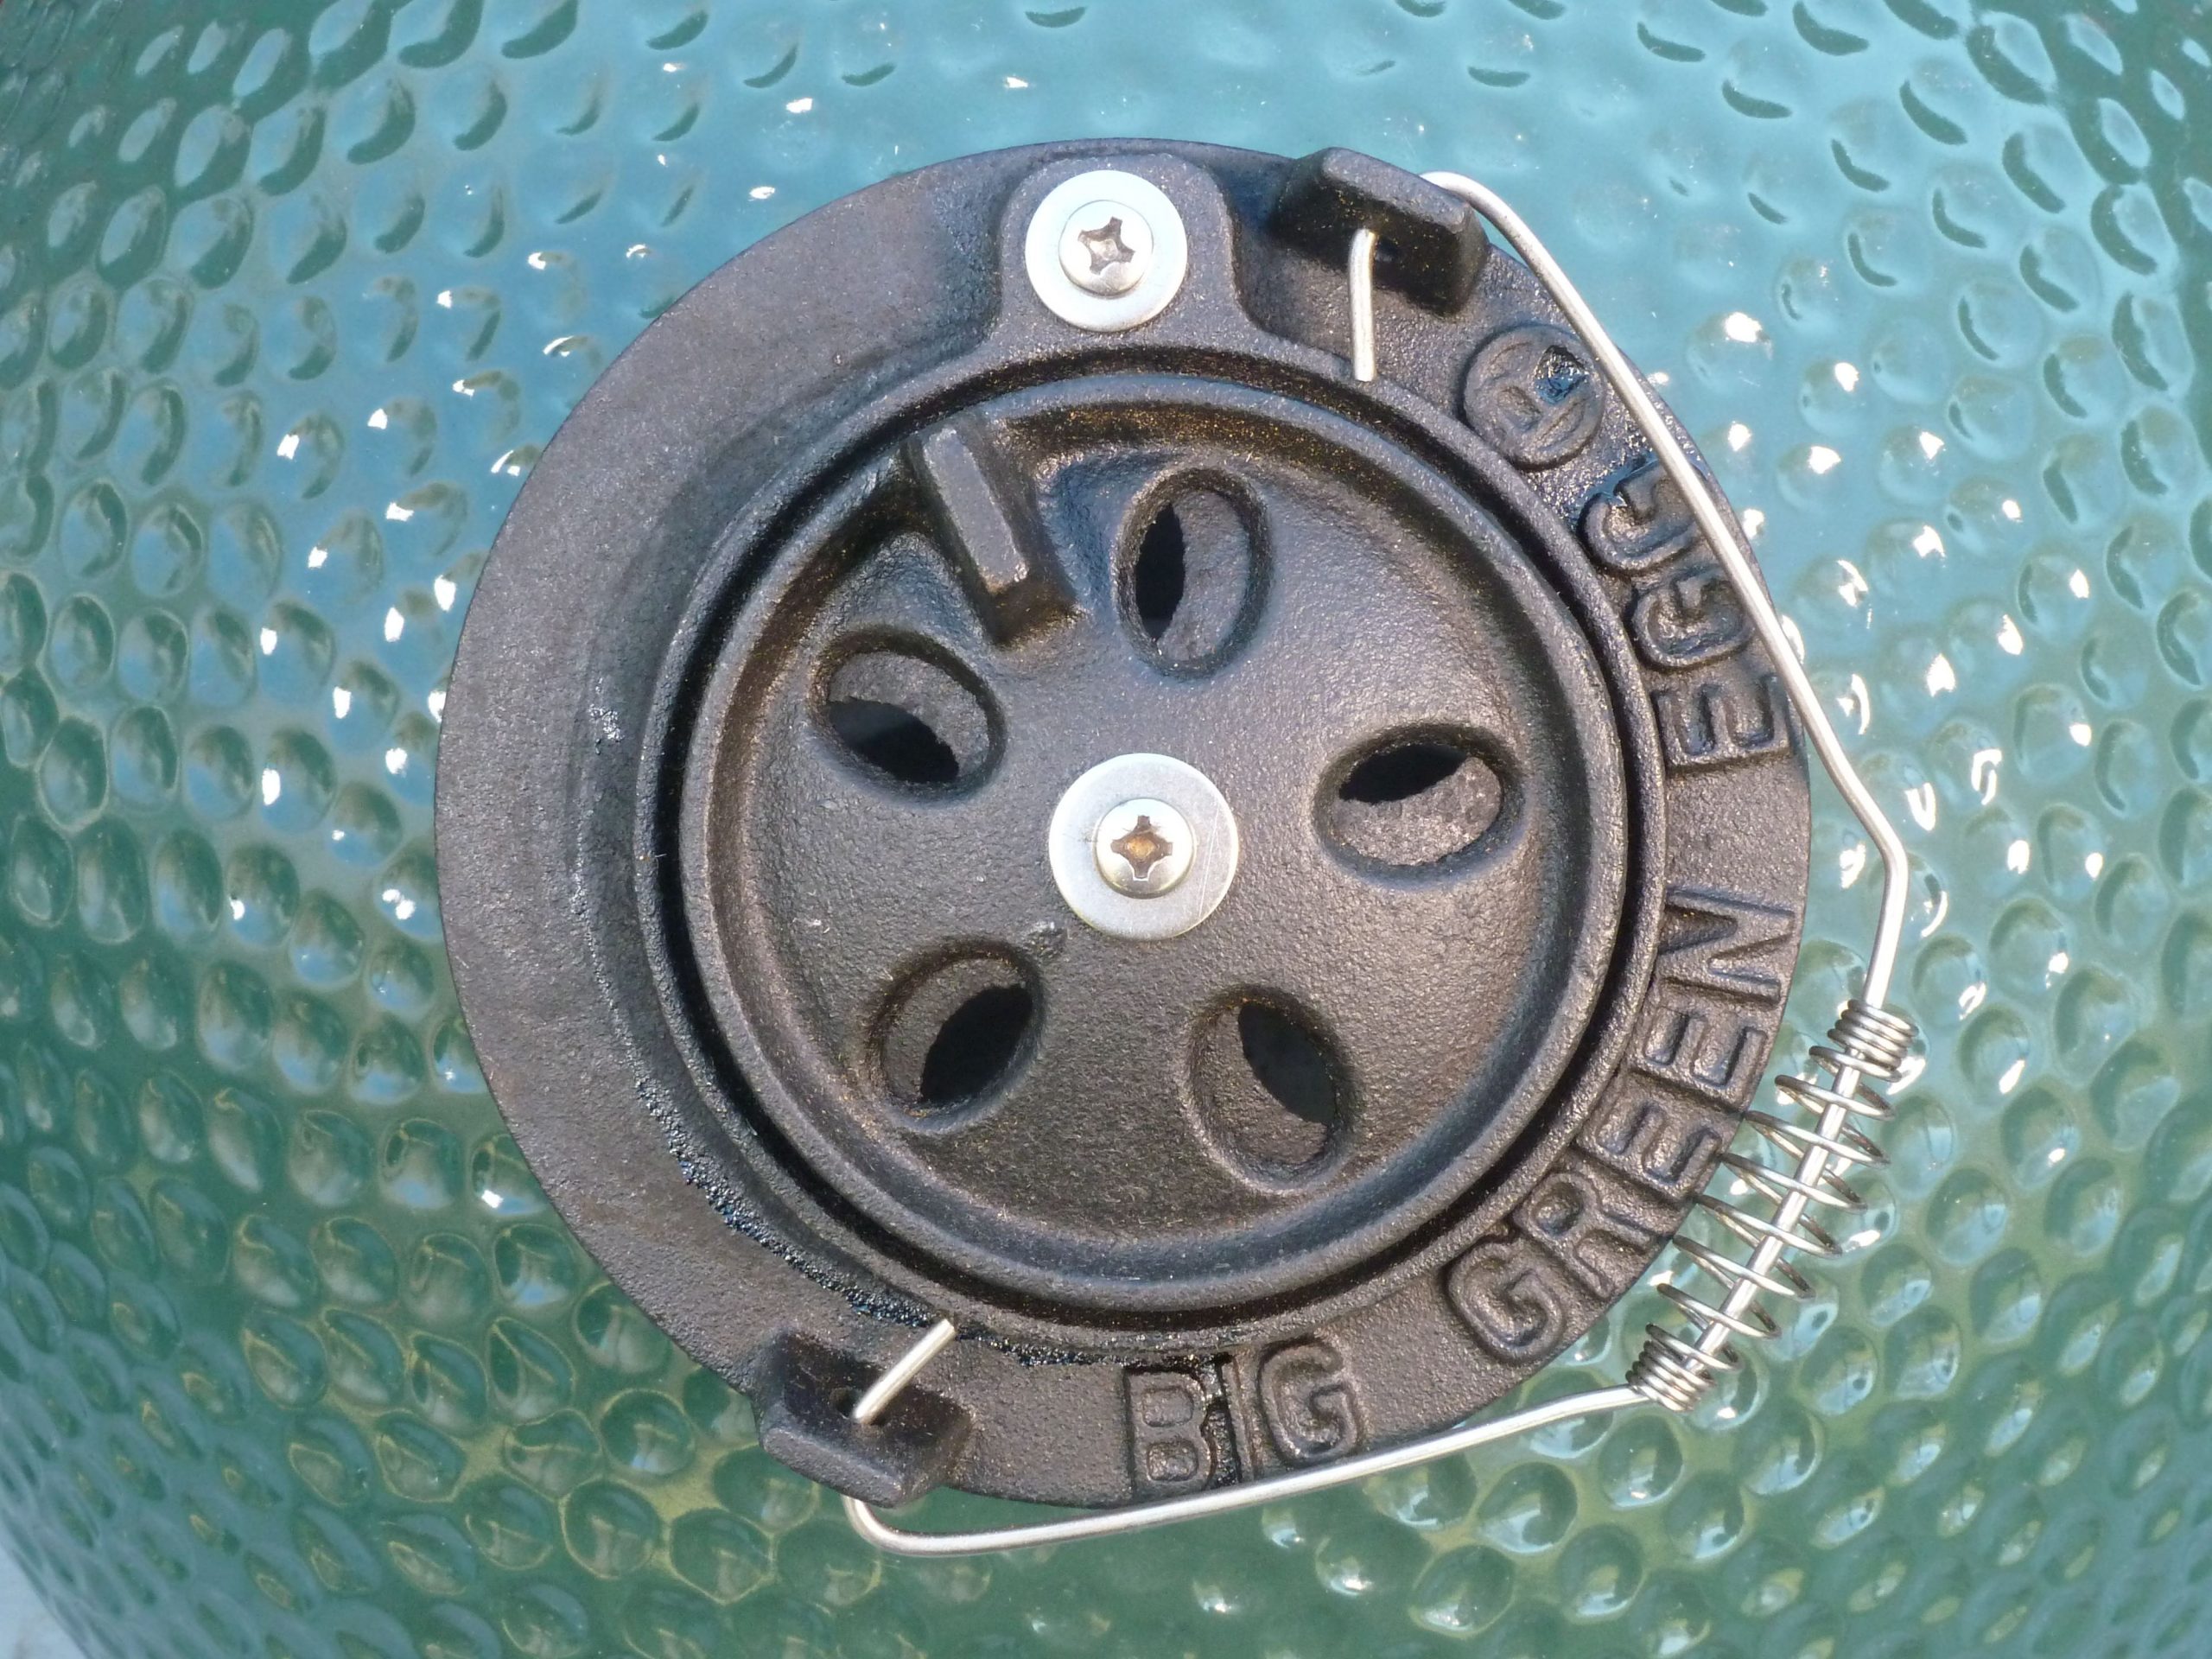
As the temperature gauge starts to rise, close your Draft Door down to about 1”-1 ½” and the Dual Function Top down to about ¼ open. The idea here is to slowly work your way up to a target temperature. Let’s say we are shooting for 225° F.


Just give it some time, say 30 minutes, and see where the temp goes. Once the temperature gets stable, make a minor adjustment to the Dual Function Top vent. Open it just a bit. Give it another 30 minutes and see what it does. Repeat this process several times until you start to get an understanding of what’s going on.
Now do a similar series of tests using the Draft Door to make adjustments. From a stable temperature, open the draft door an additional ¼” or so and see what the temperature does. Let it get stable and do it again. Make mental notes as you go. Snap a few phone pics of the vents and the temp gauge for reference.
NOTE: On the first burn, be sure to keep the Egg temp BELOW 350°. The adhesive that holds the gasket on needs to cure. This low temperature will allow that to take place. If your temperature starts to get too high while your testing, CLOSE the top and the bottom vents completely.
Let’s Shut It Down.
One of the greatest features of the Egg is a fuel miser. It’s so efficient that it needs very little fuel to maintain temperature. Couple that with the fact that you shut it down at the end of each cook and save all the unspent fuel in the cooker until next time.
At the end of your dry run, remove the Dual Function Top and replace it with the Ceramic Damper Top. The Dual Function Top is going to be HOT. Take precautions. Then close the Draft Door all the way and you’re done.
Reusing the Charcoal That’s Left.
The next time you go to cook on your Egg, you’re going to find that there’s a lot of charcoal left in there. Like I said, it’s a fuel miser. Let me quickly tell you how to get that restarted.


Take your ash tool and stir that charcoal around. This helps knocks the ash off any partly burned chunks. Dig down to the fire grate and make sure that the air holes are not blocked by small pieces of coal. Then level out the coals and top them off with some fresh lump. You are ready to go again.

Cleaning the ash out of your Big Green Egg is the final step.
Get the Ash Out.
You will also need to clean the ash out of your Egg on a regular basis. If too much ash builds up under the fire grate, it affects the air flow and untimely the temperature. To get the ash out of there, simply open that Draft Door and screen all the way and rack the ash out into a container. A few times a year, I also remove the Fire Ring and Fire Box and clean out the ash that has fallen into the vent holes around the Fire Box. That’s it. The Egg is super low maintenance.
Temp control on the Egg, or any cooker for that matter, is a like riding a bike. It may take a few times to get up and running, but once you do you just got it. Take your time. Be patient. You’ll be driving the Ultimate Cooking machine in no time.
Until next time. Happy grilling!
Jon

GrillGirl Contributor, Jon Solberg.


Hi Jon (& Robyn). I’ve had a medium BGE since 2002 and have had a lot of success with it. But I have some questions about fine-tuning my methodology. Care to discuss?
1) I typically start in a chimney, but have sometimes used fatwood, I find the chimney quicker and more reliable
2) For a long burn I sometimes add a few chunks of charcoal to keep it going, but I don’t pre-start them, Should I?
3) For slow BBQ of ribs and turkey thighs I use a pan of water under the meat. So if my probe is over the pan I see a lower temp than a probe elsewhere. What are your thoughts on water or not?
4) Every bag of lump charcoal has a variety of sizes in it. I have some buckets in the garage for sorting – I save the biggest ones for long burns, I use the mid-size most of the time, and for a quick hot fire I’ll toss in some small pieces and dust.
Hi Mike,
Thank you for the comment. We always love discussing BBQ and grilling!
1) A chimney is a great way to go for firing up. I have also used fat wood,BGE starters and tumbleweeds. This years I’ve been using a small propane touch with some great results. The touch could be my new favorite. I do run a Kick Ash Basket. I find it help me get up to temp quickly.
2) I think not pre lighting the chunks you add for you long burns is spot on.
3) I don’t run a water pan in a kamado but I have toyed with it. The kamado tends to remain a fairly moist environment and has great thermal mass on its own. I’m by no means criticizing the use of a water pan. I do use water in many other cookers with great results. I think I’ll revisit the subject with a rack of ribs on a water pan soon.
4) Lump sizes are all over the map right? You have a great process.
WRT #3 – I see that there are now Plate Setters aka https://biggreenegg.com/product/conveggtor/
I’m contemplating a newer, bigger, BGE – if I do I’ll add this contraption that adds the ability for indirect heat.
I have visions of steaks on the new BGE at 225 to get to internal temp to 110, then sear on the old Egg……
I love the convEEGtor! If you add a EGGspander to you set up you can do the reverse sear and easily lift the convEEgtor out for the sear all on one egg. This hot convEGGtor lift can also be accomplished with the Kick Ash grate lifter and super lifter.
I have repeatedly tried to start a fire in the green egg and it always takes more than an hour. It takes longer to get the fire going and up to desired temperature than it does to cook.
Larry, what method are you using to try to start it? I really like this fire starter by JJ George, I can usually get my coals going pretty quickly, in under 20 minutes using this. Here is the link: https://amzn.to/3GRbnob