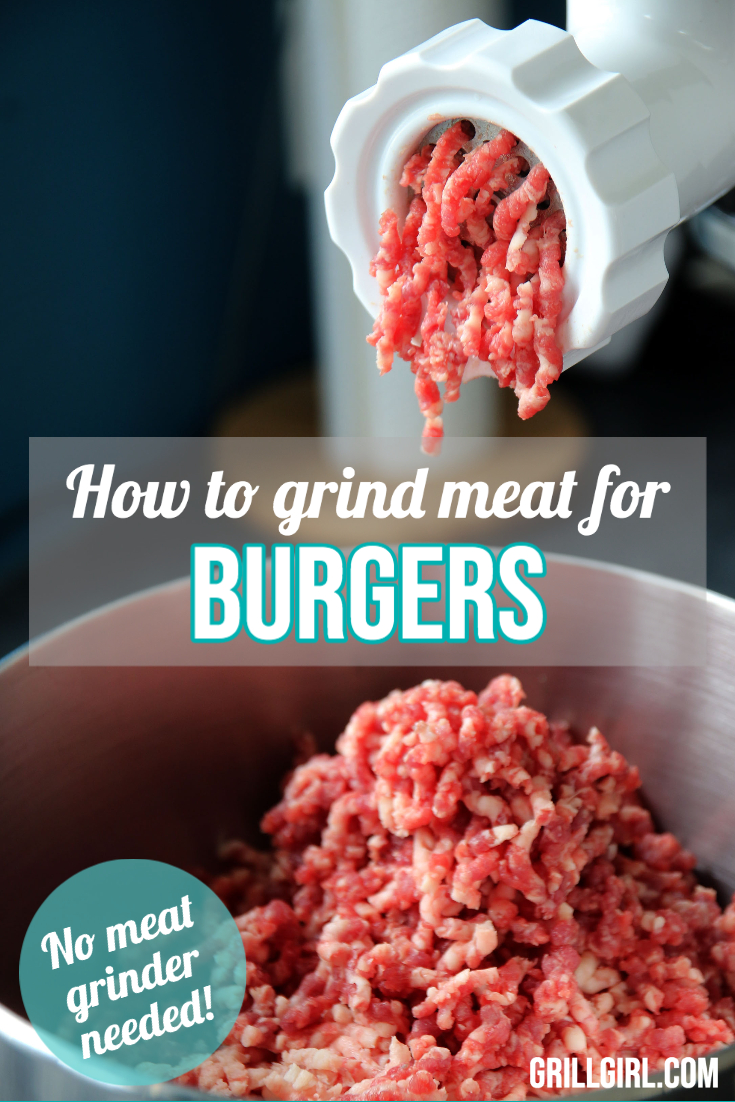
My latest contributing writer, Jon Solberg, has given instructions on how to grind your own burgers at home, even if you don't have a meat grinder! – read all about Jon in his bio on my contributor’s page. Thanks for the awesome instructions Jon- grinding burgers makes for an epic burger experience!

There's a lot to be said for grinding your own beef at home. Heck, there's a lot to be said about ground beef in general. Years ago, it seems you went to the store and there was hamburger.
Now there just seem to be a lot more options. Ground Beef 93% lean 7% fat, Ground Beef 85% lean 15% fat, Ground Beef 80% lean 20% fat, hamburger, ground chuck, ground sirloin, ground round. These are a good section of the options.
It’s easy for me to understand ground chuck, ground sirloin, ground round but what the heck are those others? Below is a pretty darn good explanation from Extension Meat Specialist, Davey Griffin of Texas A&M:
“Ground beef is chopped fresh and, or frozen beef from primal cuts and trimmings. The maximum fat content in any ground beef is 30% (70% lean) by law. No water, phosphates, binders, or other meat sources may be added and still be labeled as ground beef. If a ground beef label has an added label identifier such as ground round, sirloin or chuck, the lean and fat used in the product can come from only the primal included in the name. So ground round can only contain lean and fat from the round, sirloin from the sirloin, etc. If a package is labeled simply as hamburger, it has to meet all of the already mentioned requirements with the exception that it may contain fat trimmings from other than the primal sources.”- Griffin, Davey | Making Some Sense Out of Ground Beef Labeling
When you look a bit deeper you find that the Ground Beef 93% lean 7% fat, Ground Beef 85% lean 15% fat, Ground Beef 80% lean 20% fat is beef and trimmings from all parts of the cow with the fat content controlled to meet the required percentage label. I know this really doesn't speak to grinding your own burger but it does answer some questions about how ground beef is labeled.
As for grinding your own – let’s just say you’re going to be amazed. If you haven’t done it yet it is time. Let's get back on track and make some burgers!
 Tools
Tools
When it comes to the tool you’re going to use for the grinding task, you have some options. When I was thinking up this article, I gave this quite a bit of thought. My lineup includes a stand mixer with grinding attachment, a hand grinder, a food processor or a plain old chef’s knife.
My “go-to” for grinding meats is a stand mixer with a grinding attachment. Then I got to thinking, readers may not own a stand mixer or a grinding attachment.
Next, I was thinking about the trusty old hand grinder. Lots of folks have one of those someplace. Heck, I had to search for mine for the sake of this article.
Then again, many folks may not own one or have never used it if they do. Same holds true for a food processor. If you're reading this there is a pretty good chance you’ve got a knife and a cutting board, and that will work just fine if those are the only tools you have.
The Blend
So many ways to go here and none of them wrong. I like to use a blend of sirloin and chuck. About a 50/50 mix. If you want a little more fat you can change it up and do 75% chuck and 25% sirloin.
Using 100% chuck is amazingly wonderful as well. I would even say it’s a great first-time grind. This way you only must deal with one cut of meat and it’s a great burger.
Now you may be asking if chuck alone makes a great burger why add sirloin at all? Well, you don’t have to BUT the leaner sirloin brings a wonderful beefy flavor that really changes the taste of the burger. Try it both ways and let me know what you think.
Like I said at the beginning of this section there’s really no wrong way. You can use any cut of beef to make burgers. Some folks use brisket, beef short ribs, round, flank steak, skirt steak, on and on. Just keep in mind the leaner the cut of any meat the drier it can become when cooking.
The Prep
No matter what tool you use the prep is pretty much the same. Trim off any bone, cartilage and silver skin. Cut the meat in to 1” cubes (give or take). You can place these cubes on a sheet pan and pop them in the freezer for 15 minutes or so just to firm them up a bit. Don’t let them freeze.
Grind
If you’re doing a blend of cuts, mix them evenly and run them thru your grinder with a coarse blade. Once is enough. That’s it.
Processor
Don’t mix the cuts; you'll want to work in batches till it’s all chopped. Chop one meat and then the other. Batch size depends on your processor but 4-8 ounces is a decent framework.
PULSE the meat for a second. Do this about ten times then check it out. This is a bit of a balancing act.
Coarse is better than mush. When it looks good, dump the chopped meat on a sheet pan and pick out any gristly bits.
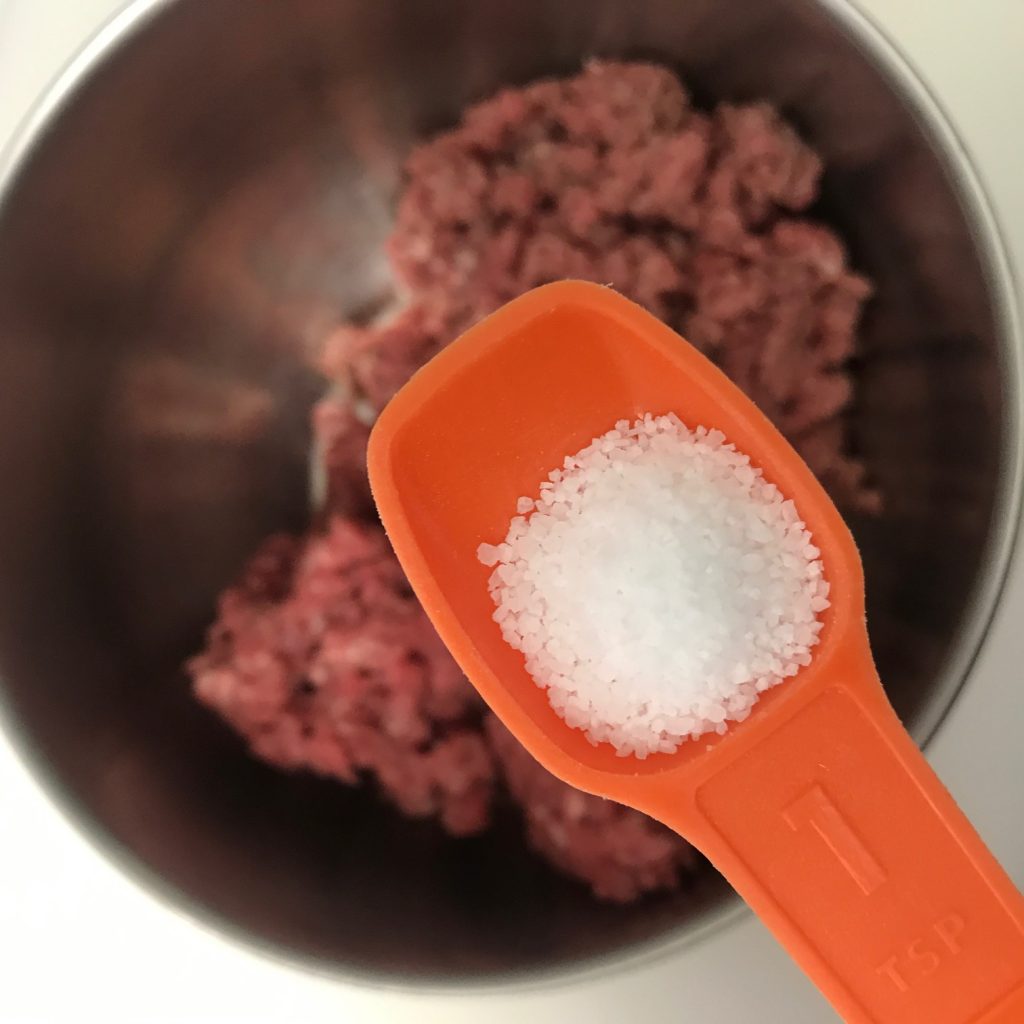
Once you have all your meat chopped up, get it in a mixing bowl and gently combine. BTW, This is a great time to add some Kosher salt. About ½ tsp per lb.
Knife
Use a sharp heavy chef’s knife. Again, work in batches by cuts. 4 ounces is a good size.
You’re going to be chopping here, not slicing. Place the tip in the knife on the cutting board and hold it down with the palm of your hand. Raise the handle but keep the tip on the board.
Work up and down with the handle and chop the meat. Up down, up down–you’ll find a rhythm quickly.
Pay attention here. Crazy as it sounds this is really relaxing and fun. I keep reminding myself I’m running a sharp knife with my hand on the back-side of the tip.
It’s an amazing experience…well to me anyway. Chop it 'til it has a nice even consistency. Play with it a bit and you’ll get the feel quick.
As with the processor method, remove any gnarly chunks, combine the chopped meat in a mixing bowl, then add kosher salt at ½ tsp per lbs. Gently mix.
Just to give you a sense of how long it takes to hand chop burger a 1lbs batch of 50/50 chuck/sirloin can be done start to finish in about 20 minutes. Of course, your mileage may vary.
The Patty and the Cook
Here’s where I tend to stray away from the pack. First off, I do use a burger press for meat that is chopped or processed. I like the consistent size and perfect shape.
I have a commercial aluminum press, a Weston to be exact, but there are lots of brands to choose from. They are adjustable and make cranking out lots of burgers a snap. Use it with affordable burger sheets and clean-up is a breeze.
I go for the 1/3 lbs burger. Form them, stack em and get them in the fridge. This is by no means a must-have.
You can easily form the patties by hand by pressing them together firmly. This is one of those practice makes improvement things.
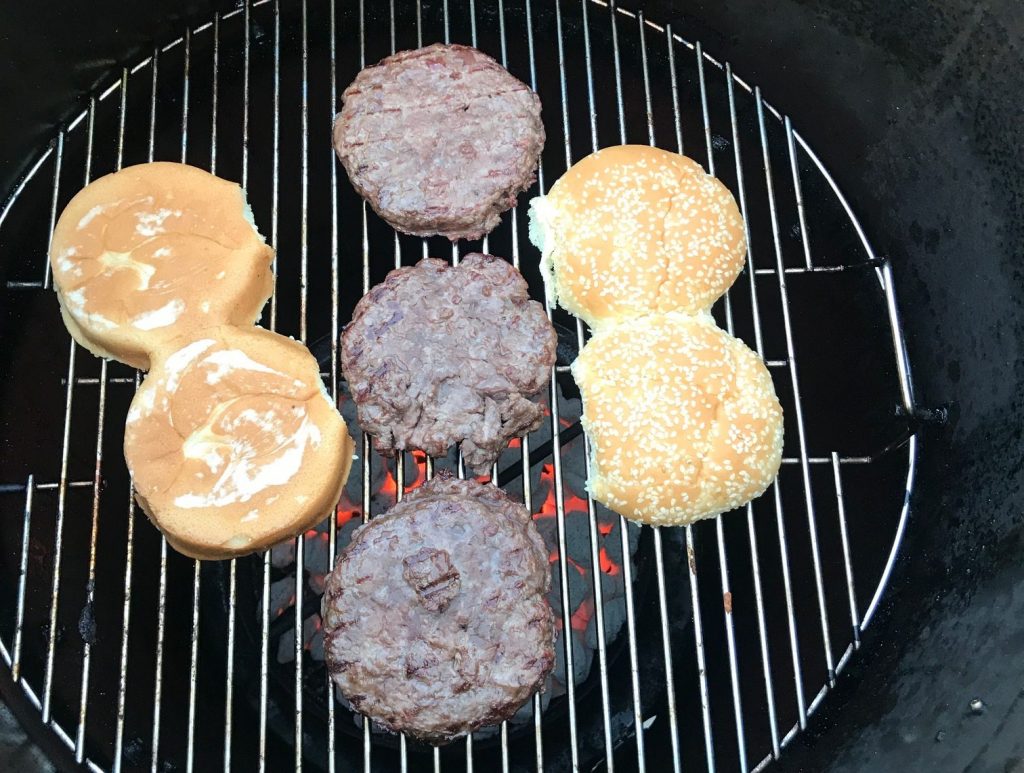
Chopped burger is a bit different than that from the store in many ways, including how it forms. As for cooking, I do this over direct heat at medium-high for two minutes on one side. Then I flip them and cook them for two minutes on the other side. Repeat till at your desired temp.
Be gentle and take your time. They may crumble a bit here and there, but don’t worry they're going to be great. I often use a thermapen to test the internal temp to check for doneness– ground meat needs an internal temp of 170 according to the USDA but of course, that is totally up to you and your preference.
Serving
There are countless books, web site, blogs, Instas, Facebooks, on and on about how to do up a burger. I’m only going to offer one simple suggestion to launch your new-found culinary experience: toast the bun, slap some mayonnaise and some fresh ground pepper on the bottom bun and load up that patty.
Sit back and enjoy the best burger you have ever made – you’re going to love it!


 Tools
Tools

