Big Green Egg Parts: What's Inside?
I’m so excited to be working on a series of articles featuring one of the greatest backyard cookers of all time: The Big Green Egg! This is part two of our Big Green Egg Series to help you learn how to use a Big Green Egg.
In this section, we do a deep dive on Big Green Egg Parts to help you understand the engine under the hood.
And don't forget, we have over 100 Recipes developed specifically for Big Green Egg! We have got you covered if you cook on an Egg or any kind of grill or smoker!

The Big Green Egg is an iconic, versatile cooker. There’s not much it can’t do. Grilling, smoking, baking; it’s got it all covered. It does a lot and it does it with ease, no knobs or electricity required. Just add some natural lump charcoal and you’re on the way! Not to mention it just looks amazing in your outdoor cook area.
To kick off this series of write-ups, I thought a quick look at the parts and pieces that make up an Egg might be in order, just to keep us on the same page.
Big Green Egg Parts Breakdown

Base and Dome
The main body of an Egg is made up of a base and a dome. The base is the lower portion and the dome is the lid.
Draft Door
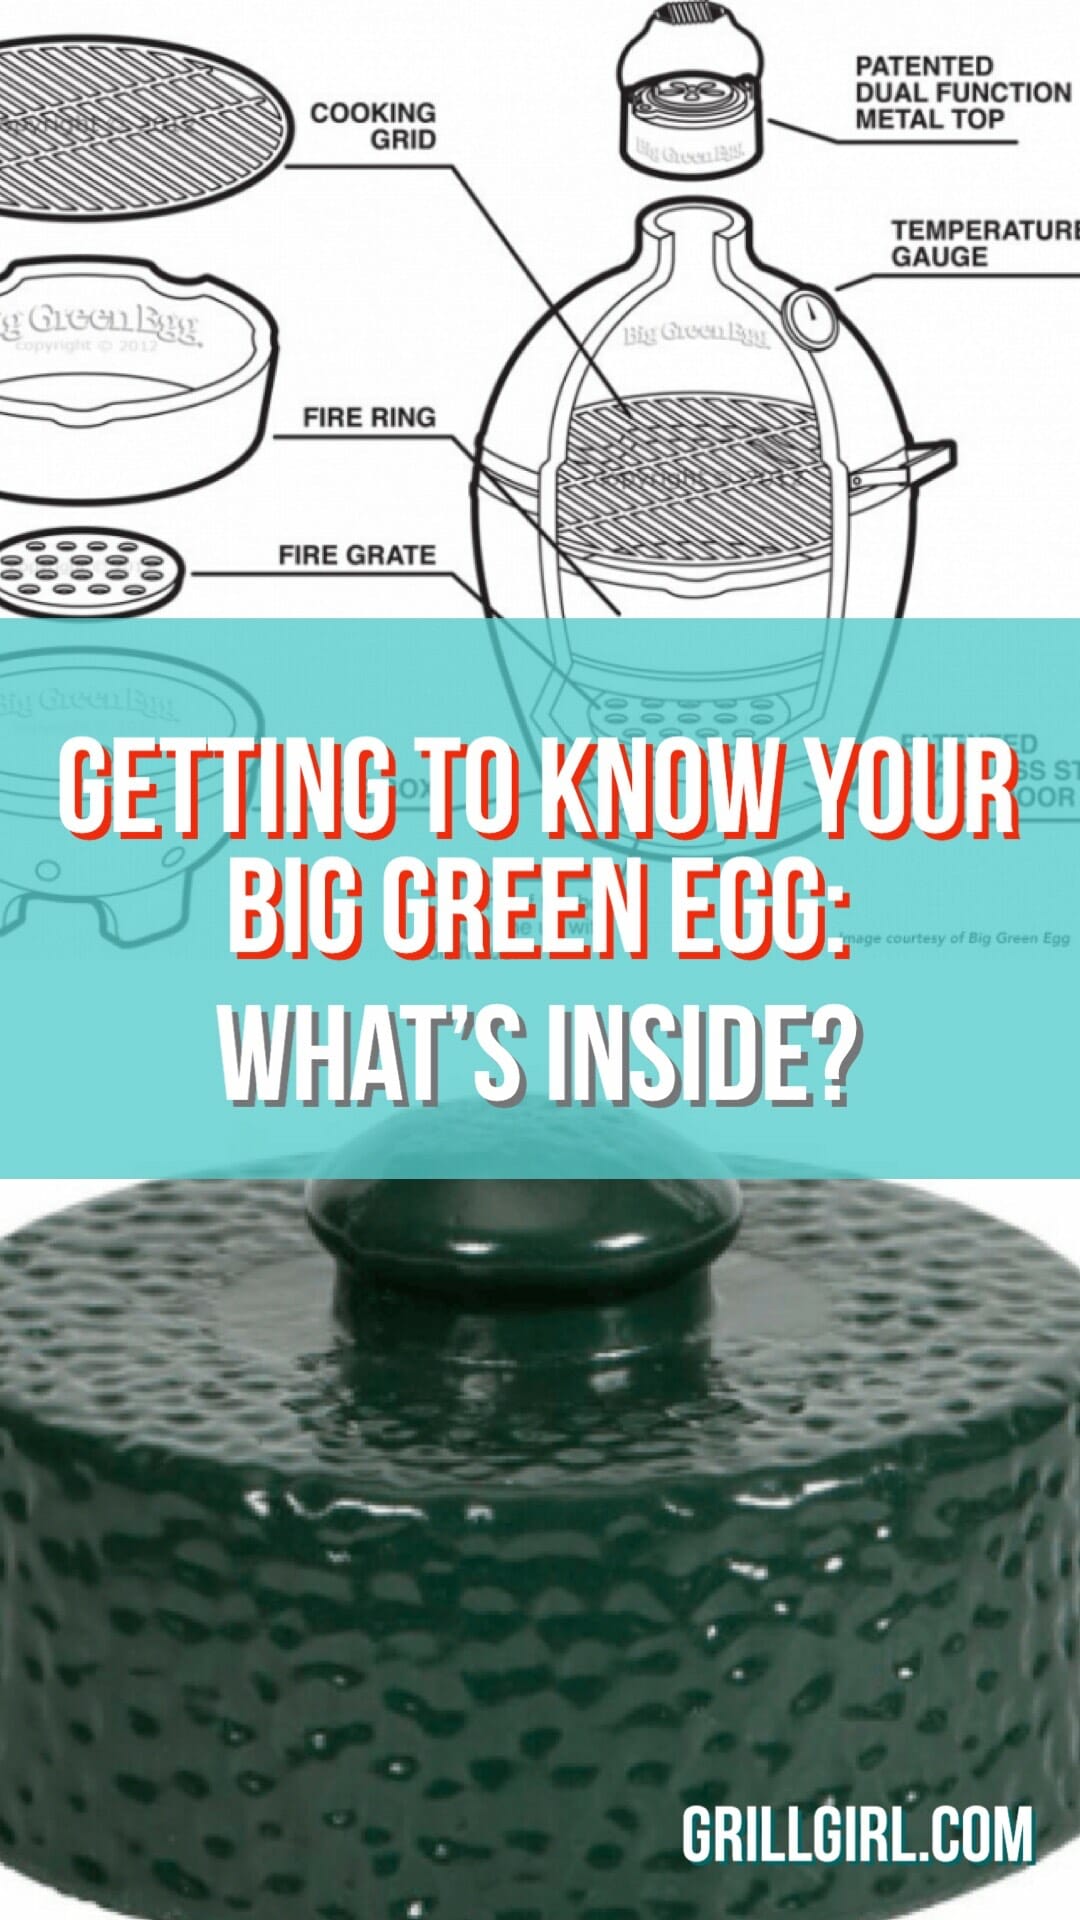
The draft door is located on the base. It's half of the temperature control system. The draft door is opened and closed to increase or decrease the airflow coming in under the fire. There are two layers to the draft door, the door itself and a mesh screen to keep ash and embers from falling out of the egg. Be sure the mesh screen is closed while running your Egg.
Dual Function Metal Top
Here’s the second half of your temperature control system. This is the component that really allows you to dial in a precise temp. You may catch me referring to this as the “daisy wheel” or “top vent.”
Now let’s look inside:
Fire Box
I know, I know, it looks like a bowl, but it is the fire box. The fire box holds your fuel, and it's constructed with a cut out to allow air from the draft door to enter and feed the flame.
Fire Grate
The fire grate rests in the base of the fire box. It's a heavy cast iron part with holes to allow that incoming air through to the fire.
Fire Ring
The fire ring sits on top of the fire box. It creates the space for your charcoal to burn in. The fire ring and the fire box make up the lining of the Egg's interior, where the fire gets the hottest. It also creates the surface for the cooking grate or convEEGtor to rest on. I’ll go into a bit more detail on the convEEGtor in just a bit.
Cooking Grate
The cooking grate is just that, where you do the cooking. It sits atop the fire ring when using direct heat or atop the convEEGtor when cooking with indirect heat.
Let’s talk about direct and indirect cooking for just a second.
Direct Grilling
This is when food is placed directly over the fire. This method is wonderful for fast cooking foods such as steaks, burgers, and chicken breasts. Food cooked with the direct method is being cooked with radiant heat.
Indirect Grilling
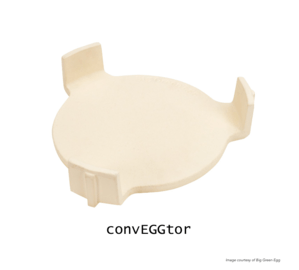
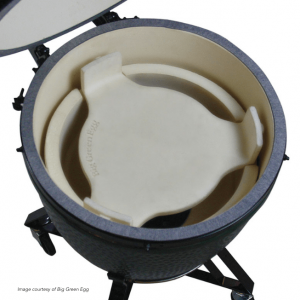
With this method, as the name implies, food is not directly exposed to the fire. In the Egg, a convEEGtor is used to create that barrier. The food is now cooked by convection heat.


The Mighty convEGGtor
This gem is what makes it possible to do some amazing things on the Egg. Low and slow BBQ, baking, pizza making, roasting, and a whole lot more are possible. While there are methods of doing many of these techniques without the convEGGtor, which we will explore, the convEGGtor really rounds out the Egg, truly making it the Ultimate Cooking Experience. You will often hear the convEGGtor referred to as the plate setter. A plate setter is a tool used in making ceramic plates or tiles in a kiln. They allow you to fire multiple plates at one time. I’m sure this is where the convEGGtor got its beginning.

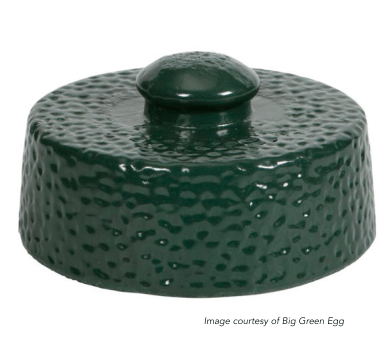
The Big Green Egg's ceramic damper top.
Ceramic Damper Top
Last but certainly not least, I need to mention the Ceramic Damper Top. This is an important part of the Big Green Egg system. It keeps water out of your egg when not in use. It will also be used to quickly extinguish the fire at the end of your cook. You simply remove the dual function vent at the end of your cook and replace it with the Ceramic Damper Top. That’s it.
I could not be more excited to be doing these write-ups. Next, we are going to light a fire and learn how to control the perfect temperature.
Happy grilling!
Jon

GrillGirl contributor, Jon Solberg.


